Free Shipping on Orders $399 or More
30-day Money Back Guarantee
Adding product to your cart
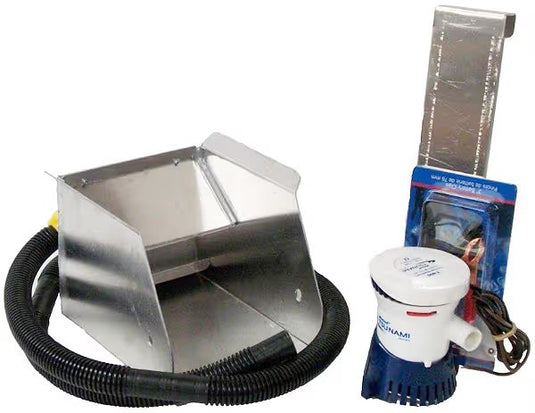
The header box size is 8"L x 6" W x 6" H. This header box kit comes with a 750-gph 12 volt pump and 4 feet of 3/4" hose. Fits any 6" wide sluice. Depending on the brand of sluice, however, you may need to re-drill the holes to make it fit. This item will let you turn a regular 6" sluice into a power sluice or highbanker. Manufactured in the USA.
Also consider the 6 inch Mini Power Sluice Set Up Kit already put together for you!
Promotions, new products and sales. Directly to your inbox.
No products in the cart.
Sign up for our newsletter to receive exclusive offers and coupons.